How to build a wooden planter | DIY
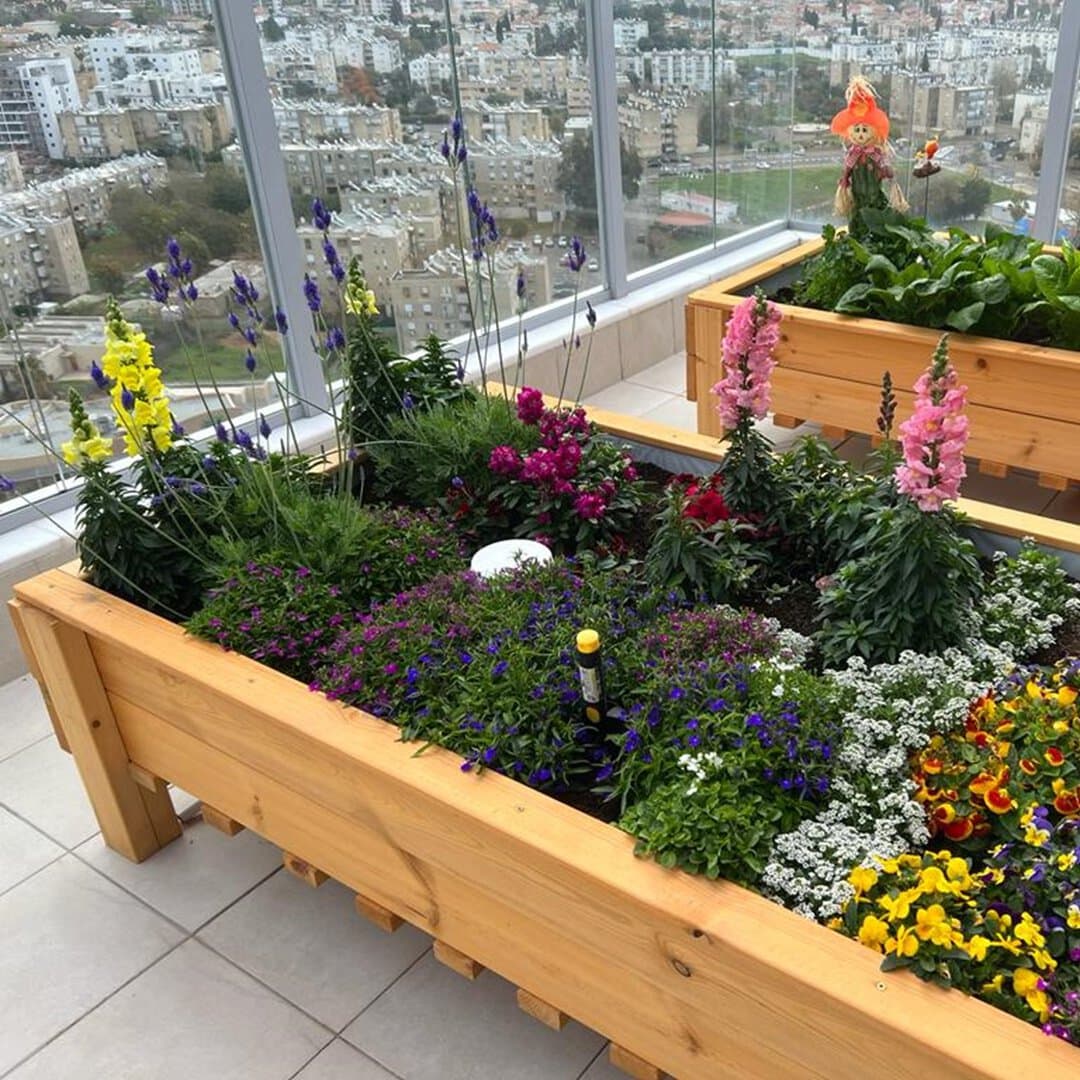
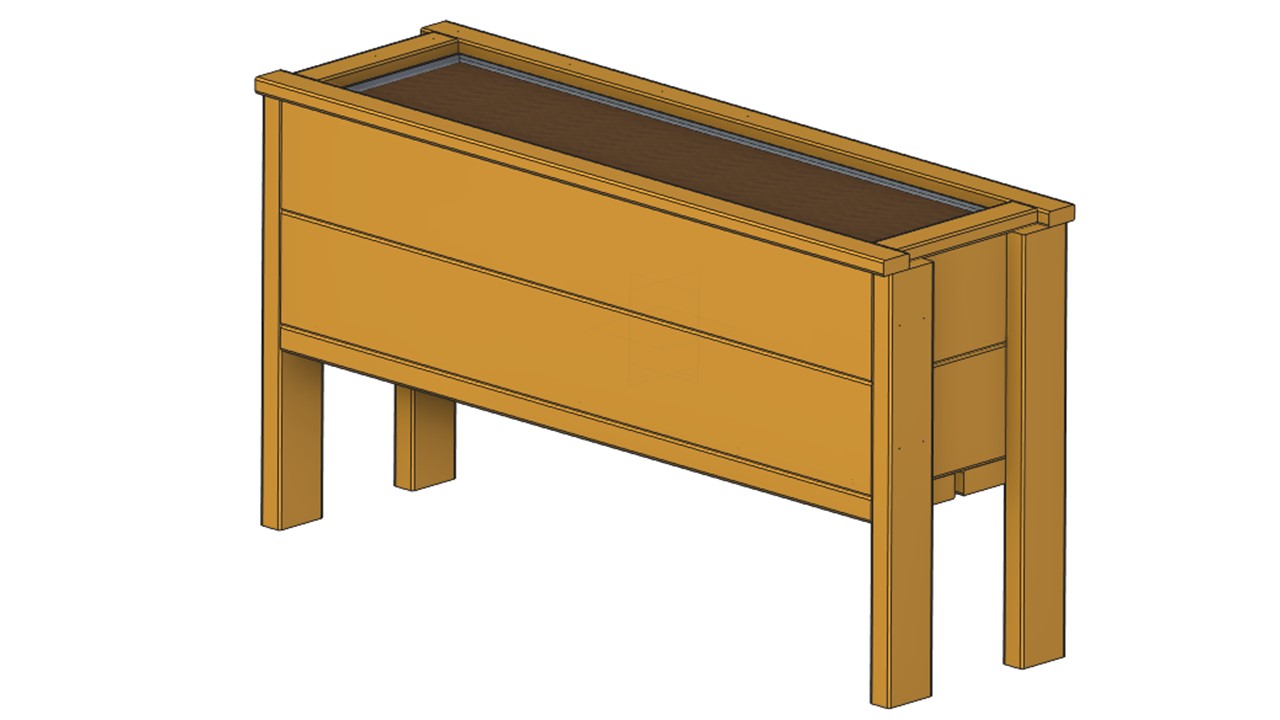
Wooden planters are a great addition to any garden. They’re also very simple to build at home. Provided you know what you’re doing. In the following article you will learn how to plan them correctly, and how to carry out the construction.
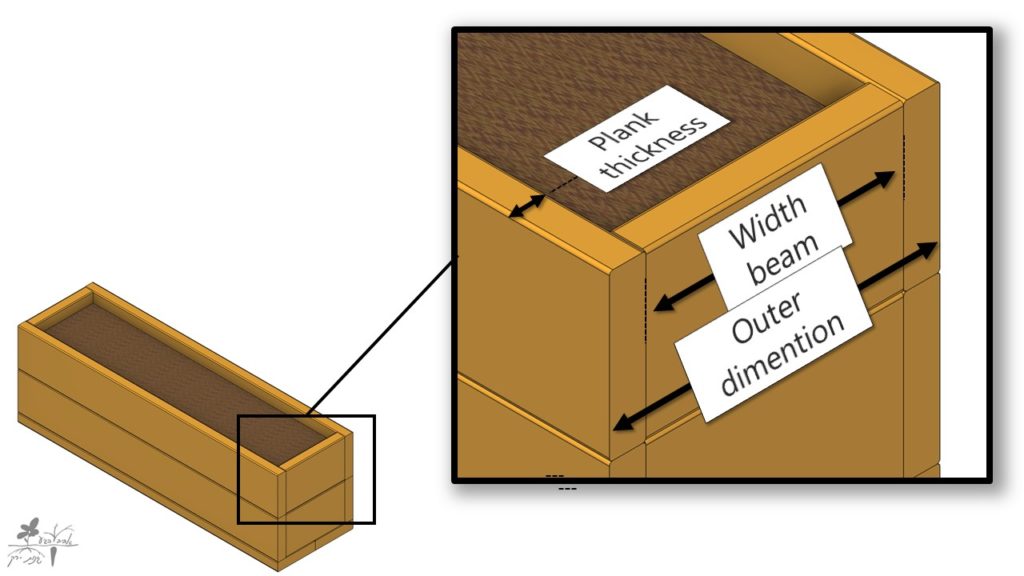
Dimensions
Each planter has a length, width, depth, and height from the floor. Every measure and its constraints:
Width:
The width of the planter depends on the width of the beams that make up the bottom of the planter: common standard width dimensions of wooden beams are: 19.5, 14.5, 12.0, 9.5, 7.5, and 4.5 cm. These dimensions may vary quite a bit (up to half an inch) between the wood sheds. At the time of planning, it is a good idea to call your lumberyard and verify the exact measurements. Since some of the beams are adjacent to each other, the width or length of the planter you choose will have to be a multiple of one of these dimensions.
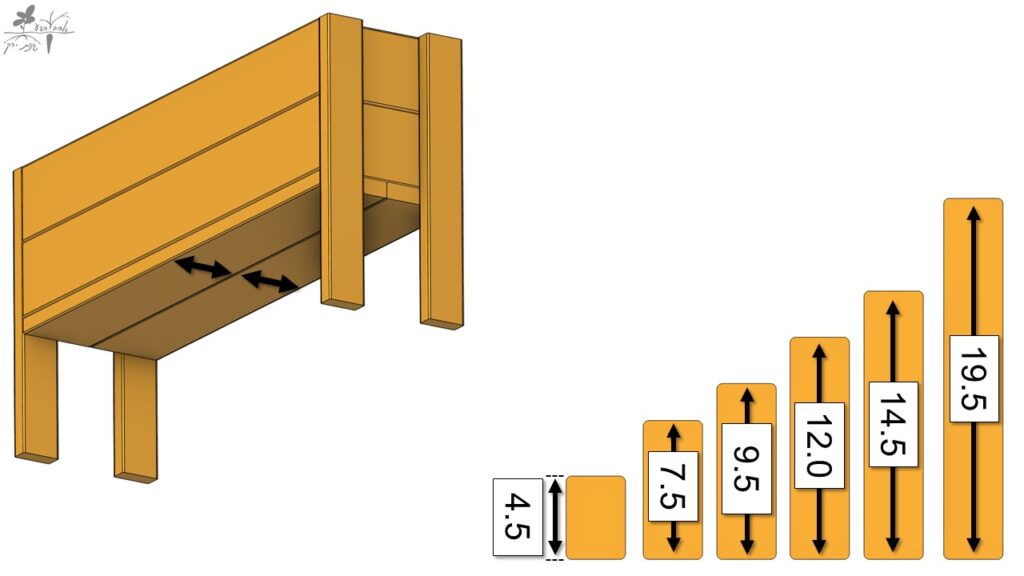
You can of course bypass this constraint by cutting one of the beams along it, or by using a plywood board to create a bottom of any size and shape you choose.
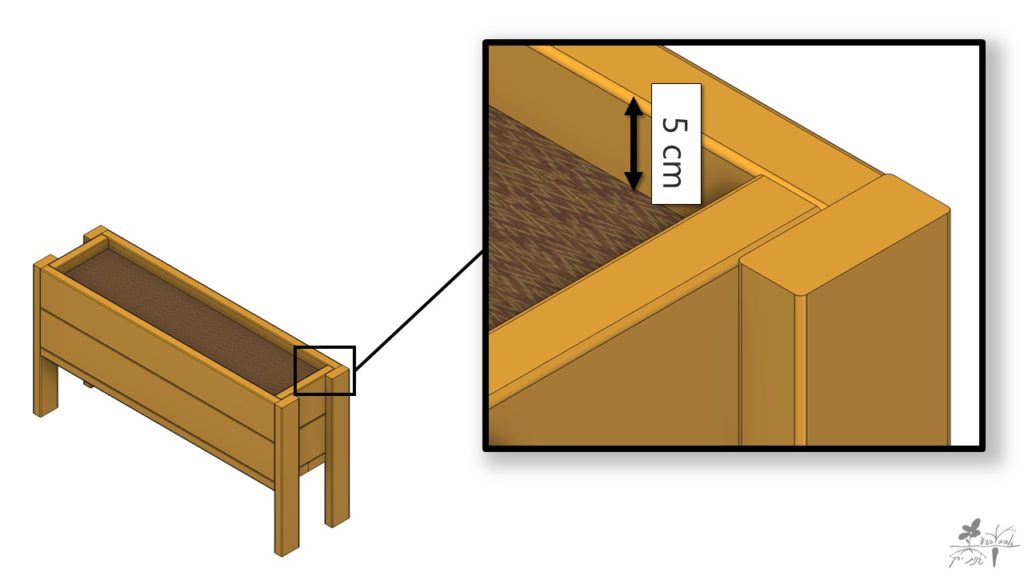
Depth
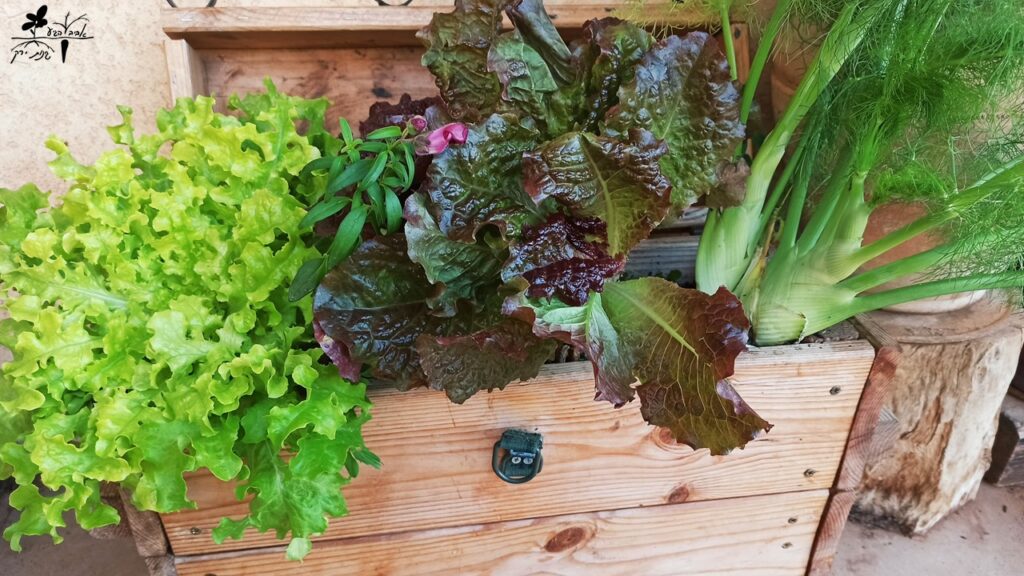
In nature, most plant root activity is concentrated in the upper 15-30 cm of soil. This layer of land is called the top soil. In our planter, we would like to give the roots a similar depth, in which the roots will develop optimally. A depth of 15 cm will suffice for small seasonal flowers such as tulips and violets, a depth of 20 cm for leaf crops such as lettuce and fennel, while larger summer vegetables like tomatoes and cucumbers will require a depth of 30 cm. Keep in mind that over time the planting soil sinks slightly, so that the actual depth of the soil is slightly smaller than the depth of the planter. Another constraint that limits the depth of the planter is the width of the planks, just as with the width of the planter.
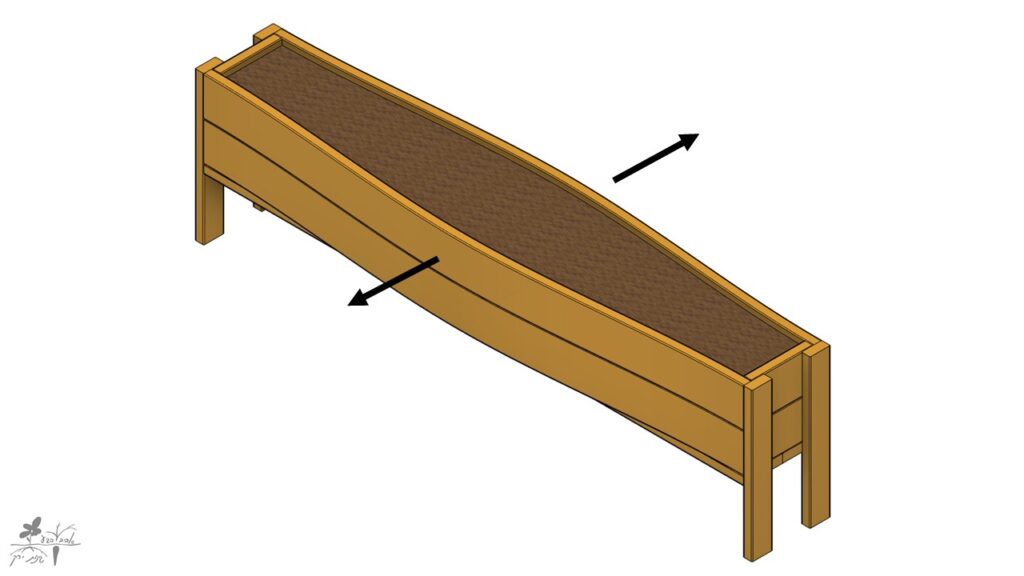
Length
Here we are a lot less limited. Just be aware that over the years too long and thin beams may get a “belly” because of the internal pressure exerted by the substrate.
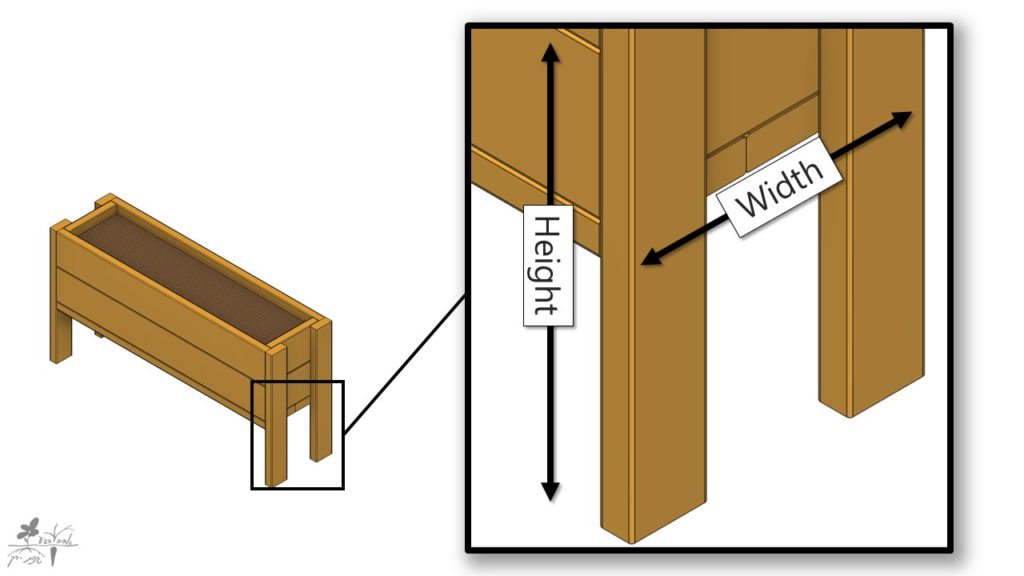
Height from floor
Narrow planters with high legs tend to be unstable and can easily overturn – a real danger when little kids are around. As a rule of thumb, The total height should be no more than twice the width of the planter. If you choose to build a planter without legs, it is recommended to keep the bottom of the planter off the floor by a few centimeters, preventing moisture and accelerated decay of the tree. You can use some old pavement bricks for it.
The thickness of the beam
Wooden beams come with standards of about 2 and 3 cm thick (or 1 inc, 1.5 inc, etc). When determining the dimensions of the planks for cutting, do not forget to take into account the thickness of the blocking beam, which will affect the outer width.
Connections
Connecting the beams to each other is not obvious – since the connection is made at the end of the beam, the wood has a tendency to crack. There is a wide range of accessories and connection methods that address this issue. There are metal accessories that can help, but in my opinion they are cumbersome and expensive, and I tend to avoid them. For home DIY I will focus on the two most relevant techniques: direct connection, and the use of a third beam.
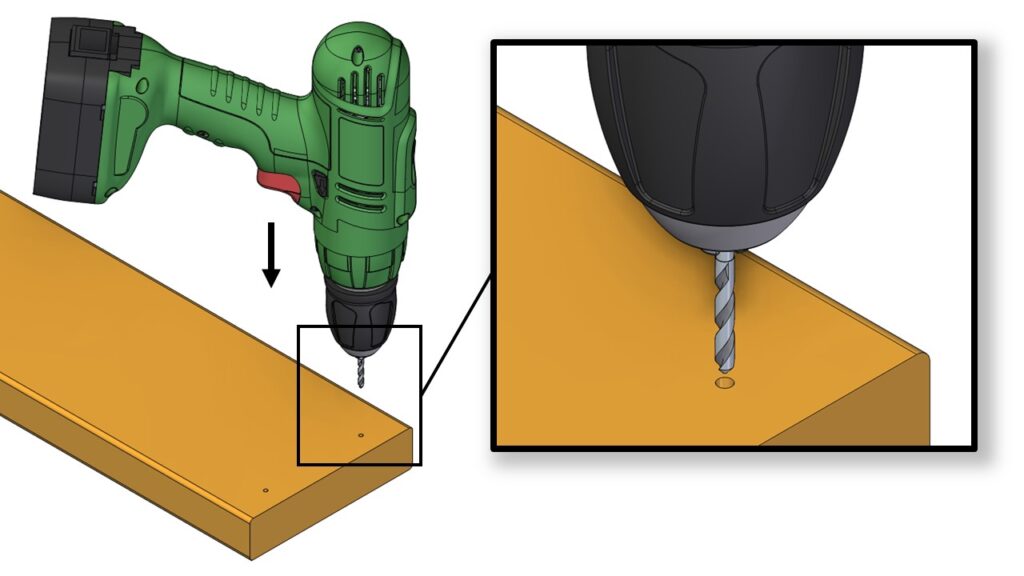
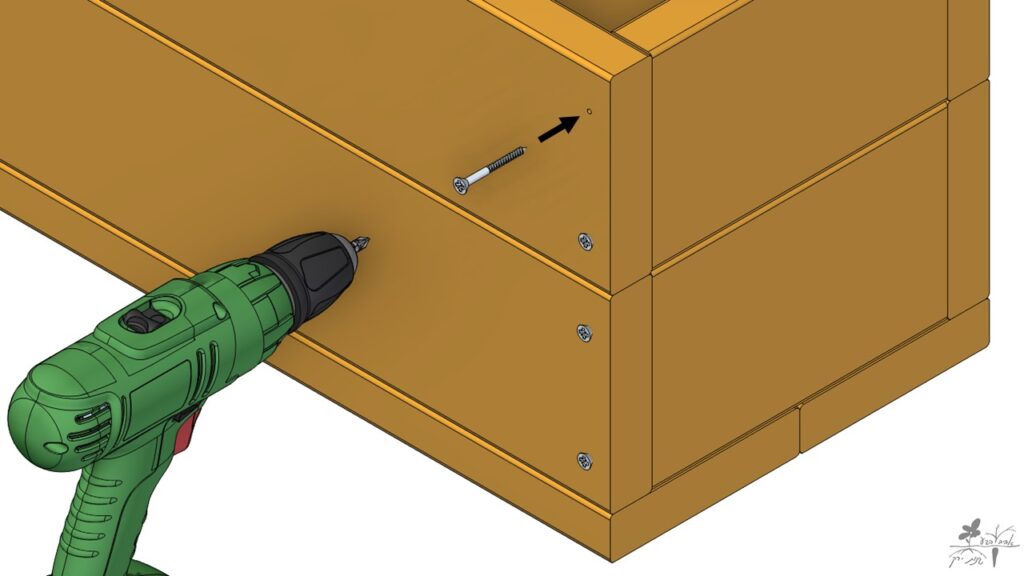
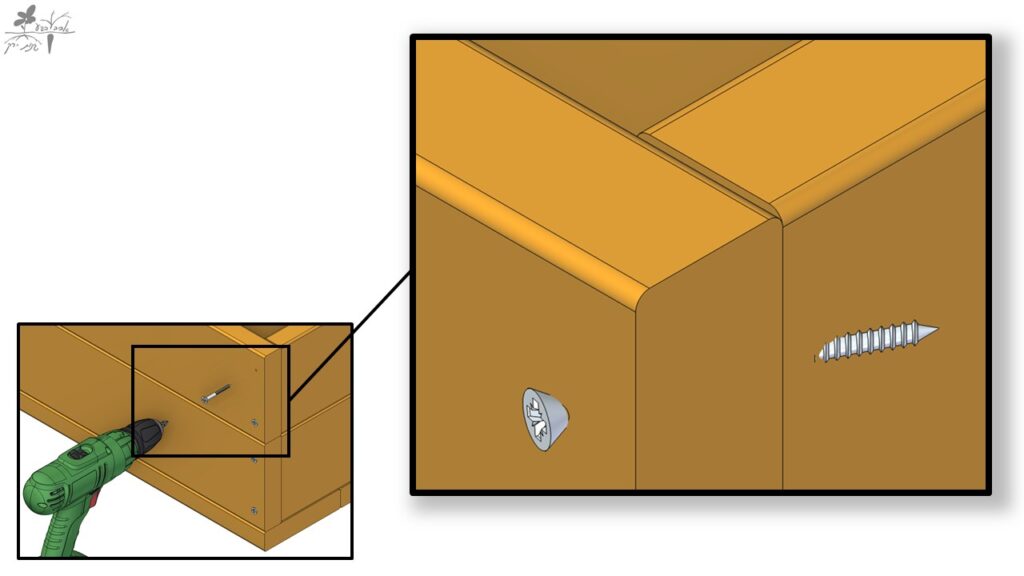
Direct connection
With this method, the beams are connected to each other directly with screws. This method is very simple on paper, but may easily crack the wood if not careful. You can apply this method easily by choosing thick 3 cm beams, and using thin screws, about 4 mm in diameter. You can also add a 2-3 mm prep drill to ensure that the beam does not crack.
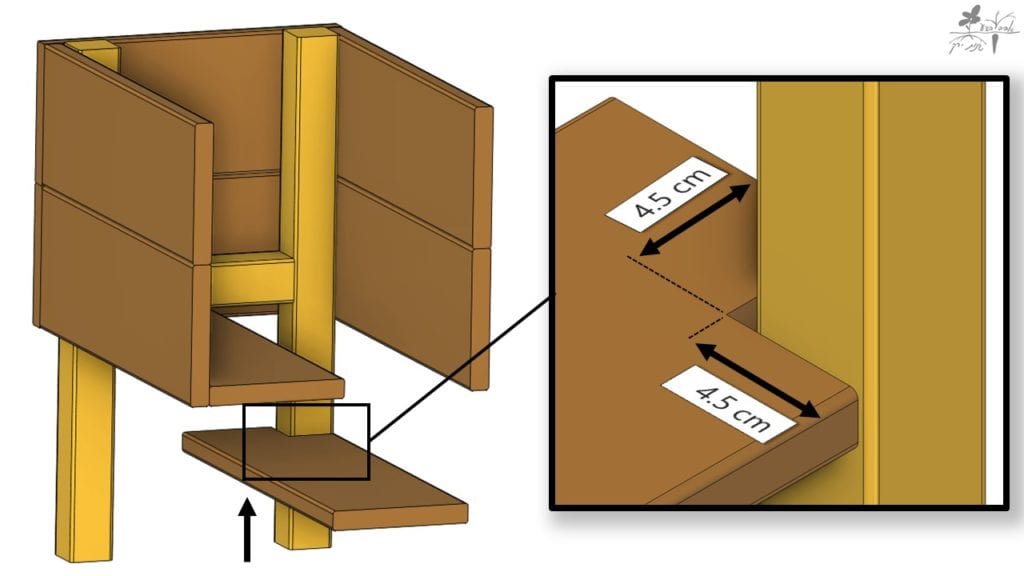
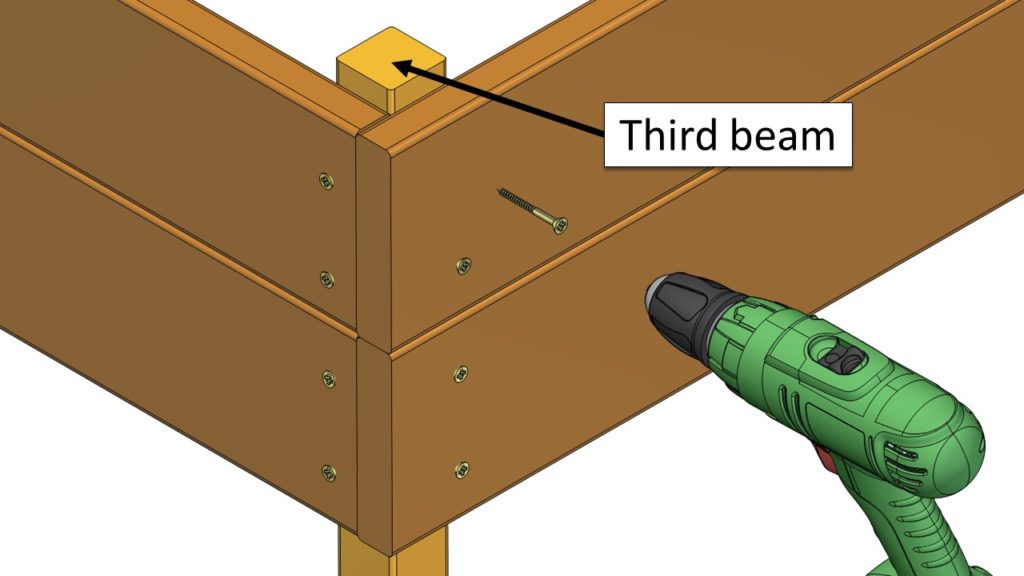
Connecting with a third beam
With this method we add a third beam, usually a 5×5 or 3×3 cm beam, to which we will screw the screws without fear of cracking.
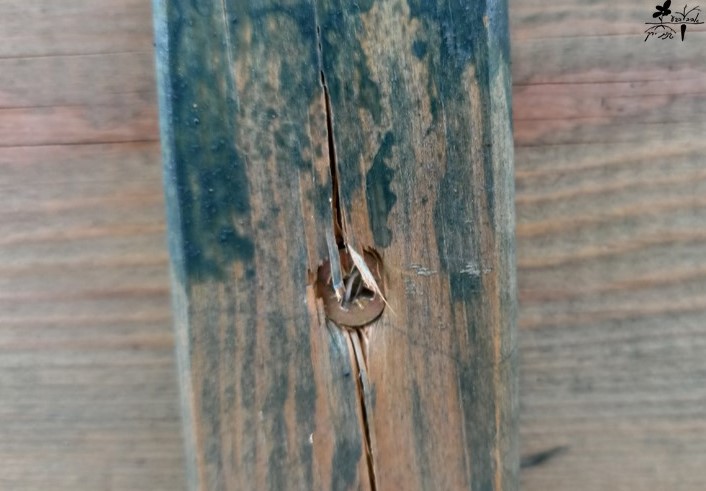
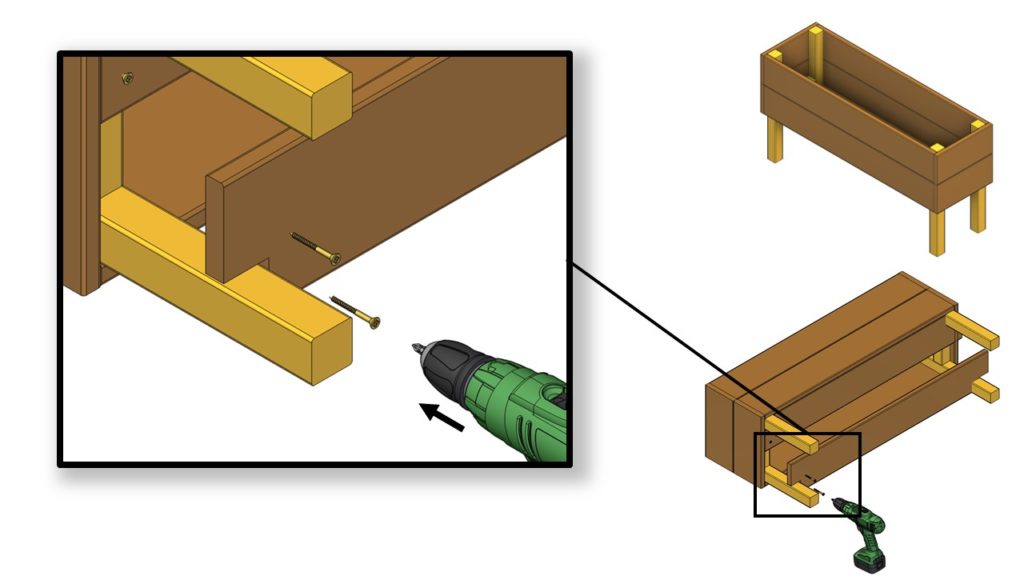
The third beam can also be used as feet for a planter. In this case, cut openings at the bottom of the planter:
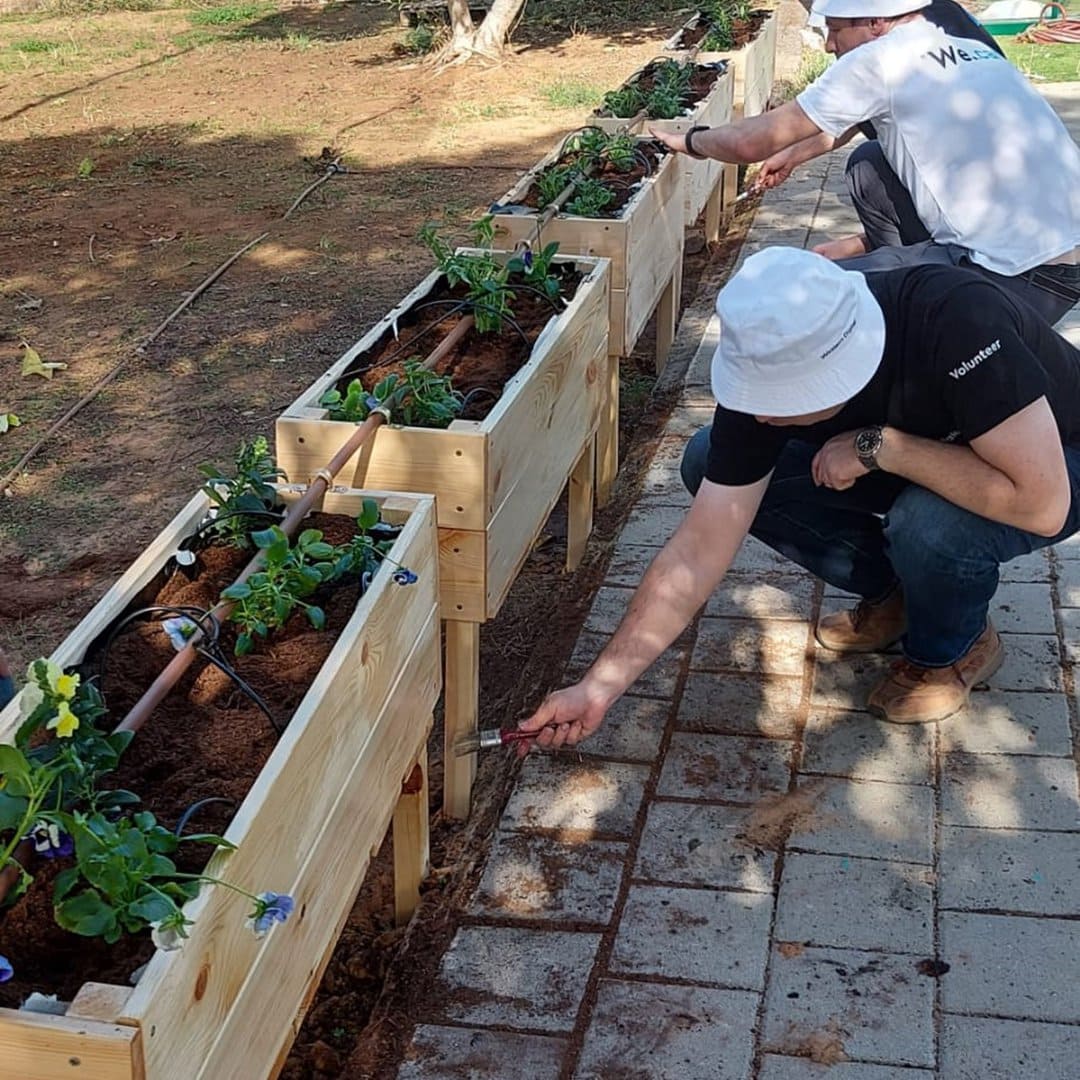
Irrigation
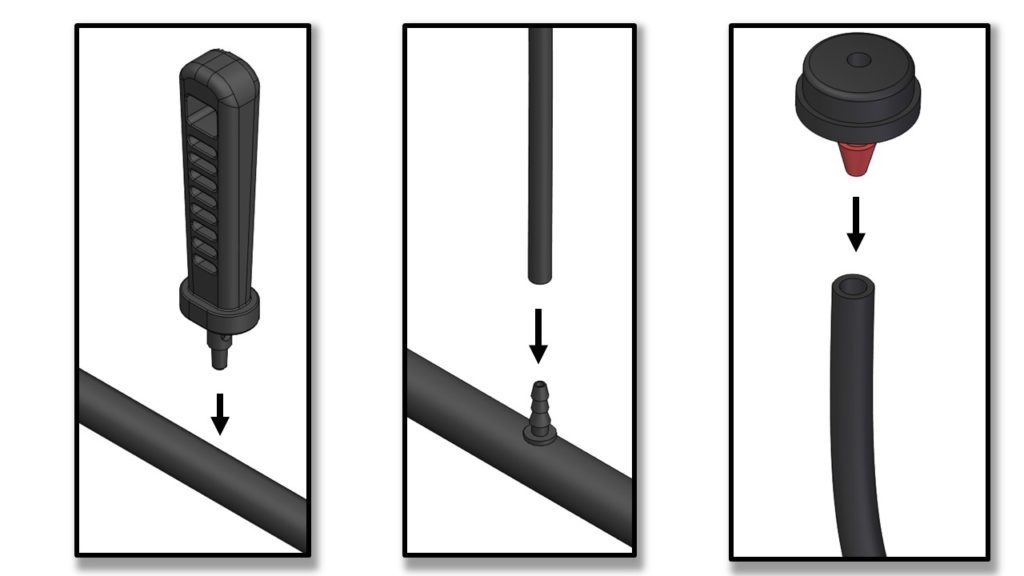
You can water manually, but it’s best to add drip irrigation with an irrigation computer. A basic irrigation computer will cost you no more than 50$. You can stretch a blind tube 16 mm in diameter from the irrigation computer to the planter, and disperse tackle drips with a 6 mm tube, and at intervals of up to 30 cm from one to the other.
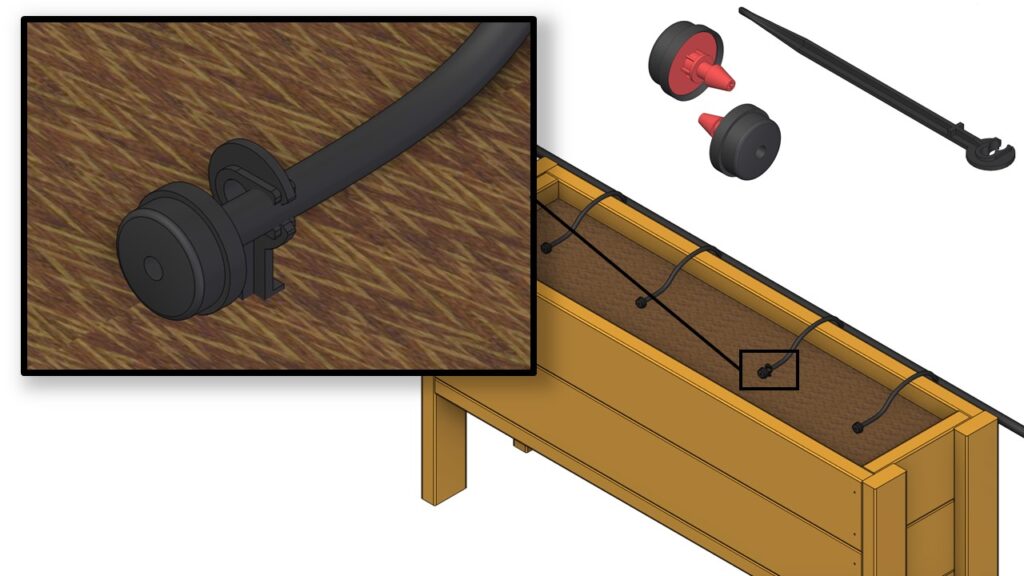
The addition of a tack eyedropper is done by perforating a 16 mm blind tube with a dedicated perforation, inserting a tooth connector into a 6 mm tube, and connecting a tack drip at the end.
Sealing
Wood, being a natural product, breaks down and decomposes over time. The constant moisture that prevails in the planter greatly accelerates the decay processes – a wooden planter that will not be treated properly can end its life in 4-6 years! To prevent decay, several actions can be taken:
- Use of pressure treated wood: Also called “green wood”, it is lumber that has been absorbed with conservation materials that give it durability over the years. Please note that these substances are toxic and not recommended in an environment with children.
- Painting the inside of the planter with a sealant: Use a high-quality sealant intended for the harsh humidity conditions. you can use cold tar or roofing sealant.
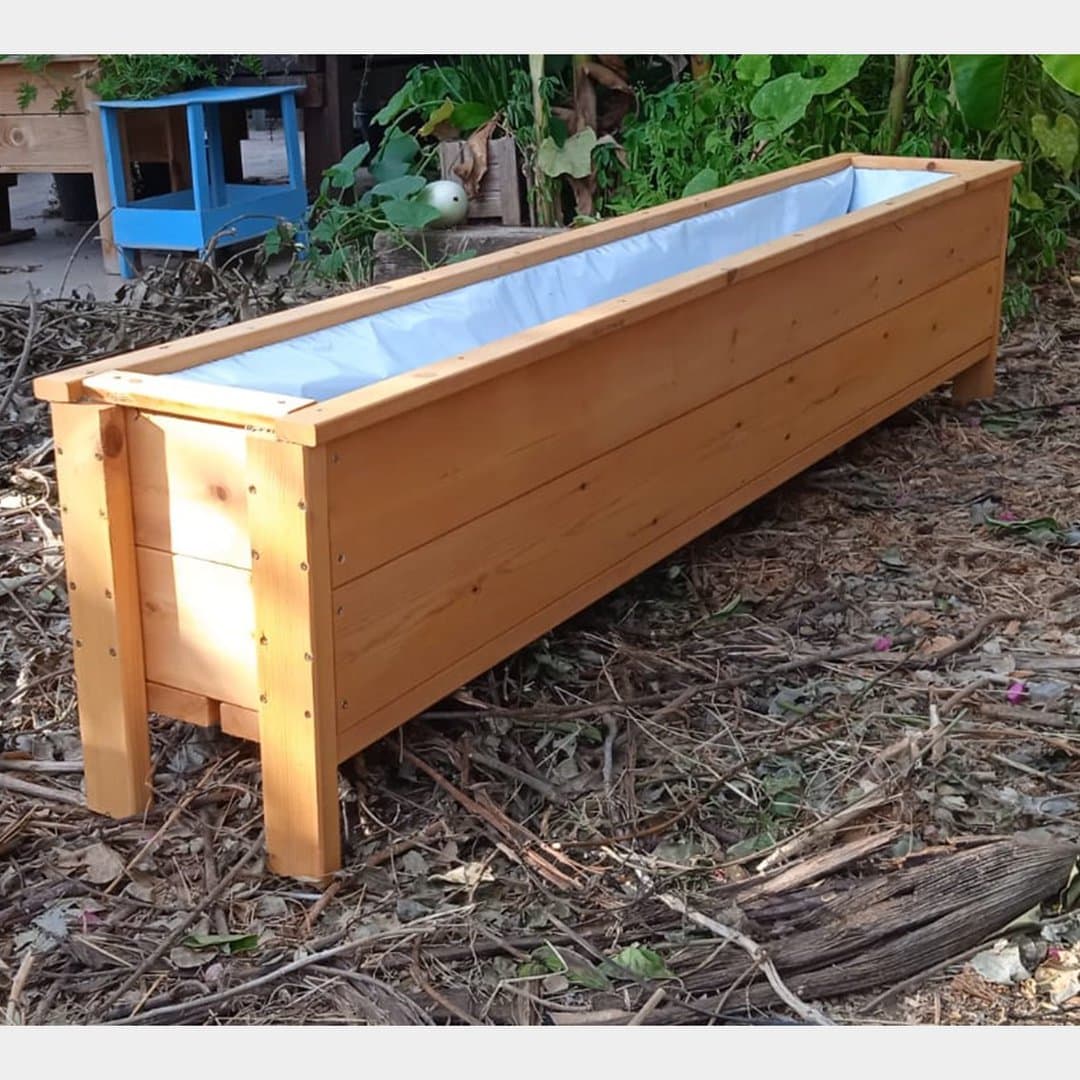
- Plastic tarp: in my opinion, this is the most successful method. A nylon tarp will prevent the moisture in the soil from reaching the lumber, and contrary to previous methods will not release toxic substances into the planting soil. It is still recommended to paint the wood with paint meant for outdoor conditions, that will give it resistance against the sun and rain. paint before you assemble.
Drainage
Drainage is very important for proper growth. A planter without proper drainage will store water at its bottom, which will cause the plant roots to rot and smell because of the anaerobic (oxygen-free) conditions that will prevail in it. After you have sealed the planter, add drainage holes at the bottom and even drill a few holes in the wood. You can place a pebble or a handful of tuff on the drain hole before filling the planter with planter soil – this will prevent the planting substrate from being washed through the drain and soiling the floor.

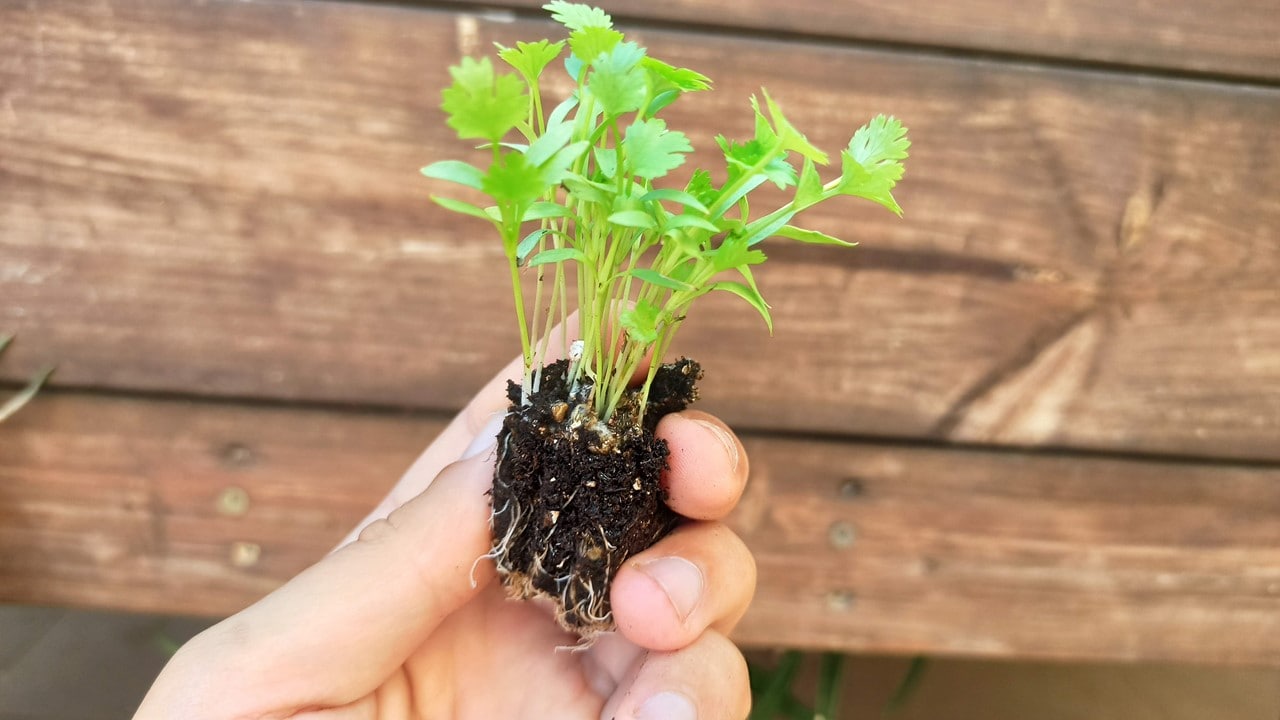
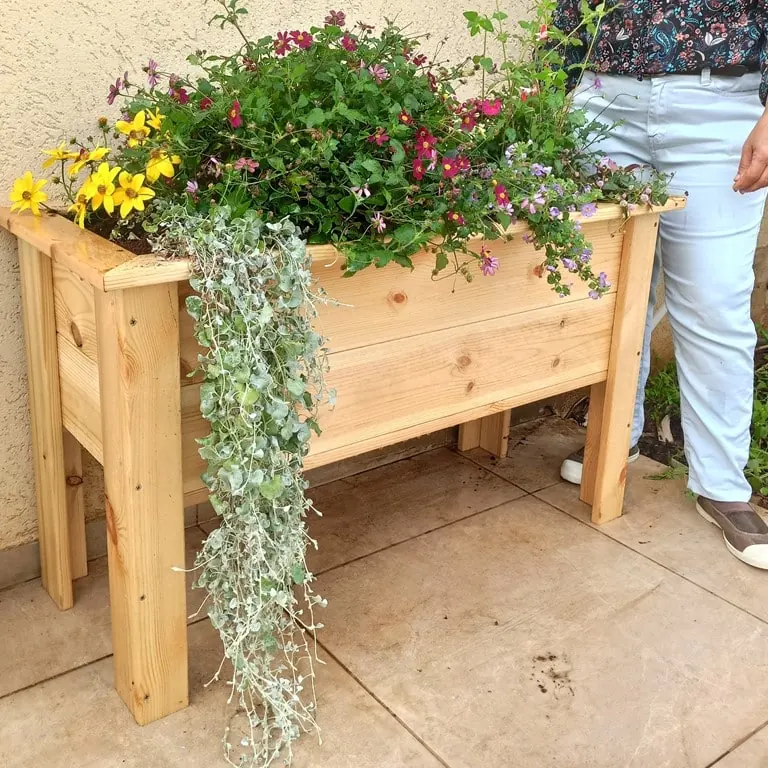
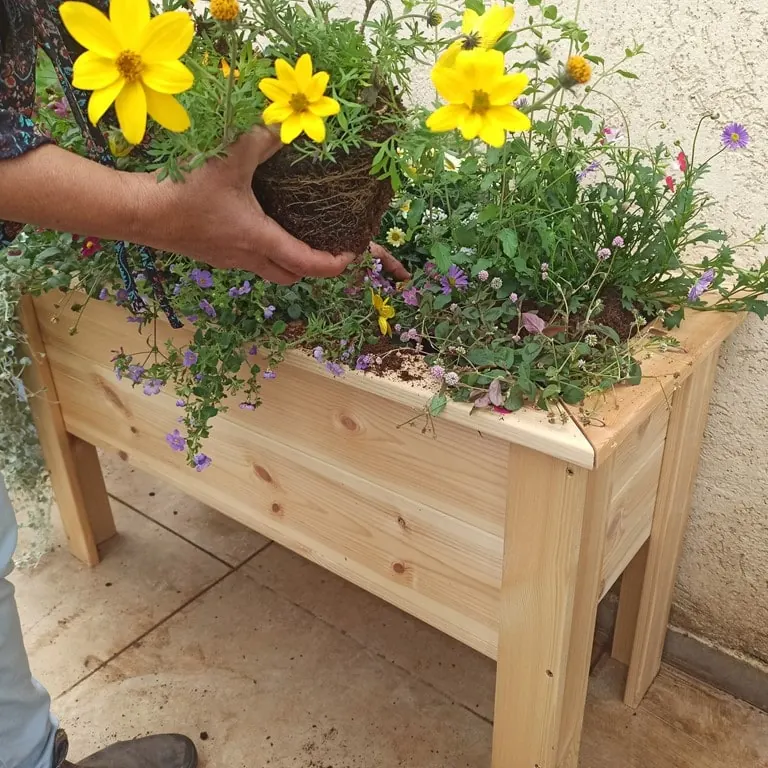
Planting
Since the planter has a very limited volume of land, we would like the soil to be the best possible:
- For annual vegetables and flowers: mix peat moss substrate with 7% worm casting. every season empty the soil, mix it with more worm casting, and return to the planter.
- For perennial plants: Purchase peatland mixed with shredded toff. The toff stabilizes the soil and prevents its erosion in the wind or sunset over the years. You can read more about planting in the following article.
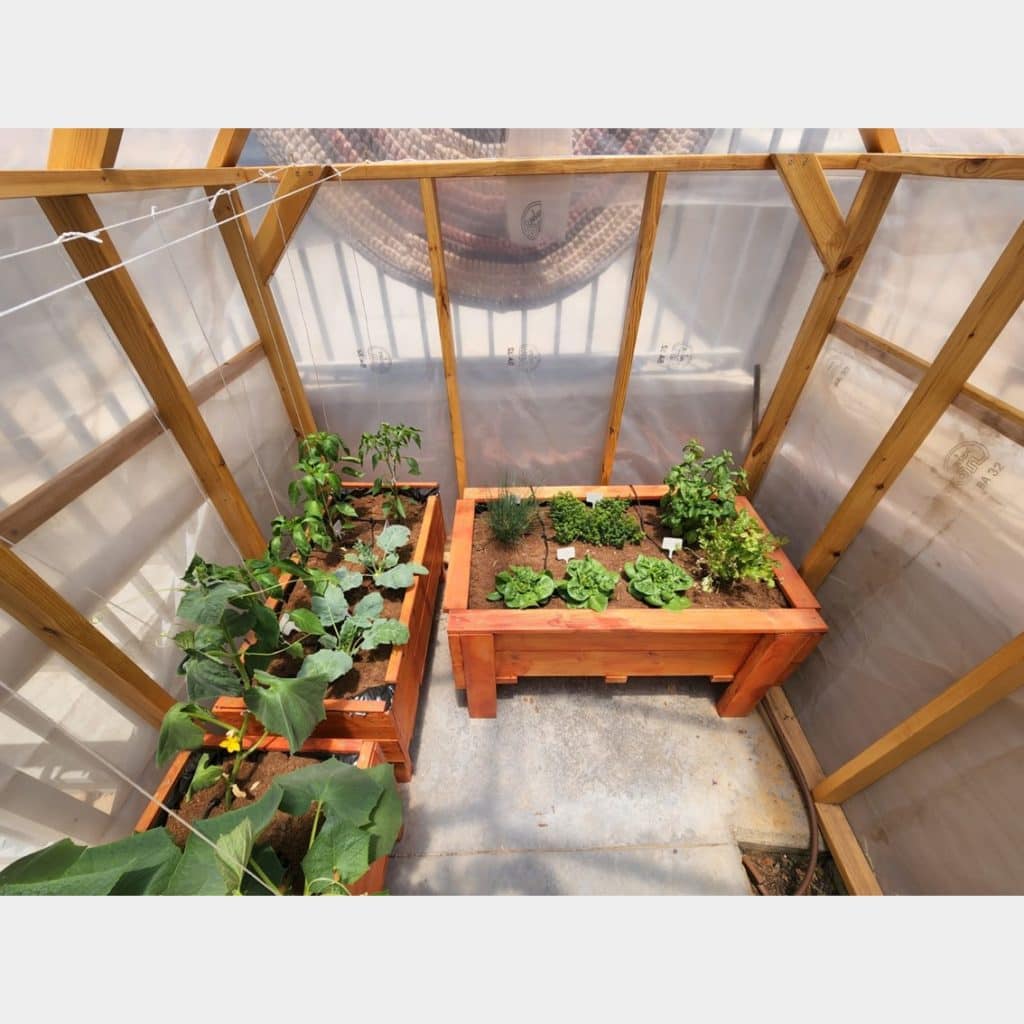
Location
The planter’s location in the space has a big impact on the success of the plants. Enter the following article to learn how to place a vegetable garden (the article was written in the context of hydroponics, but equally relevant to planters).
Lastly, here is a DIY planter video, from lumber to salad 🙂
מאמרים ומוצרים קשורים